
macOS 3rd floor copier wireless printing instructions
Wireless printing to the 3rd floor copier for macOS Computers
Wireless printing to the 3rd floor copier in Fisher-Bennett Hall is now available! First, you will need to configure your laptop to connect to AirPennNet. Instructions for this can be found here.
Wireless printing to the 3rd floor copier will only work while you are inside Fisher-Bennett Hall. You will also need to know your 4-digit passcode.
First, turn on your computer and log in. Make sure you see your desktop as expected.
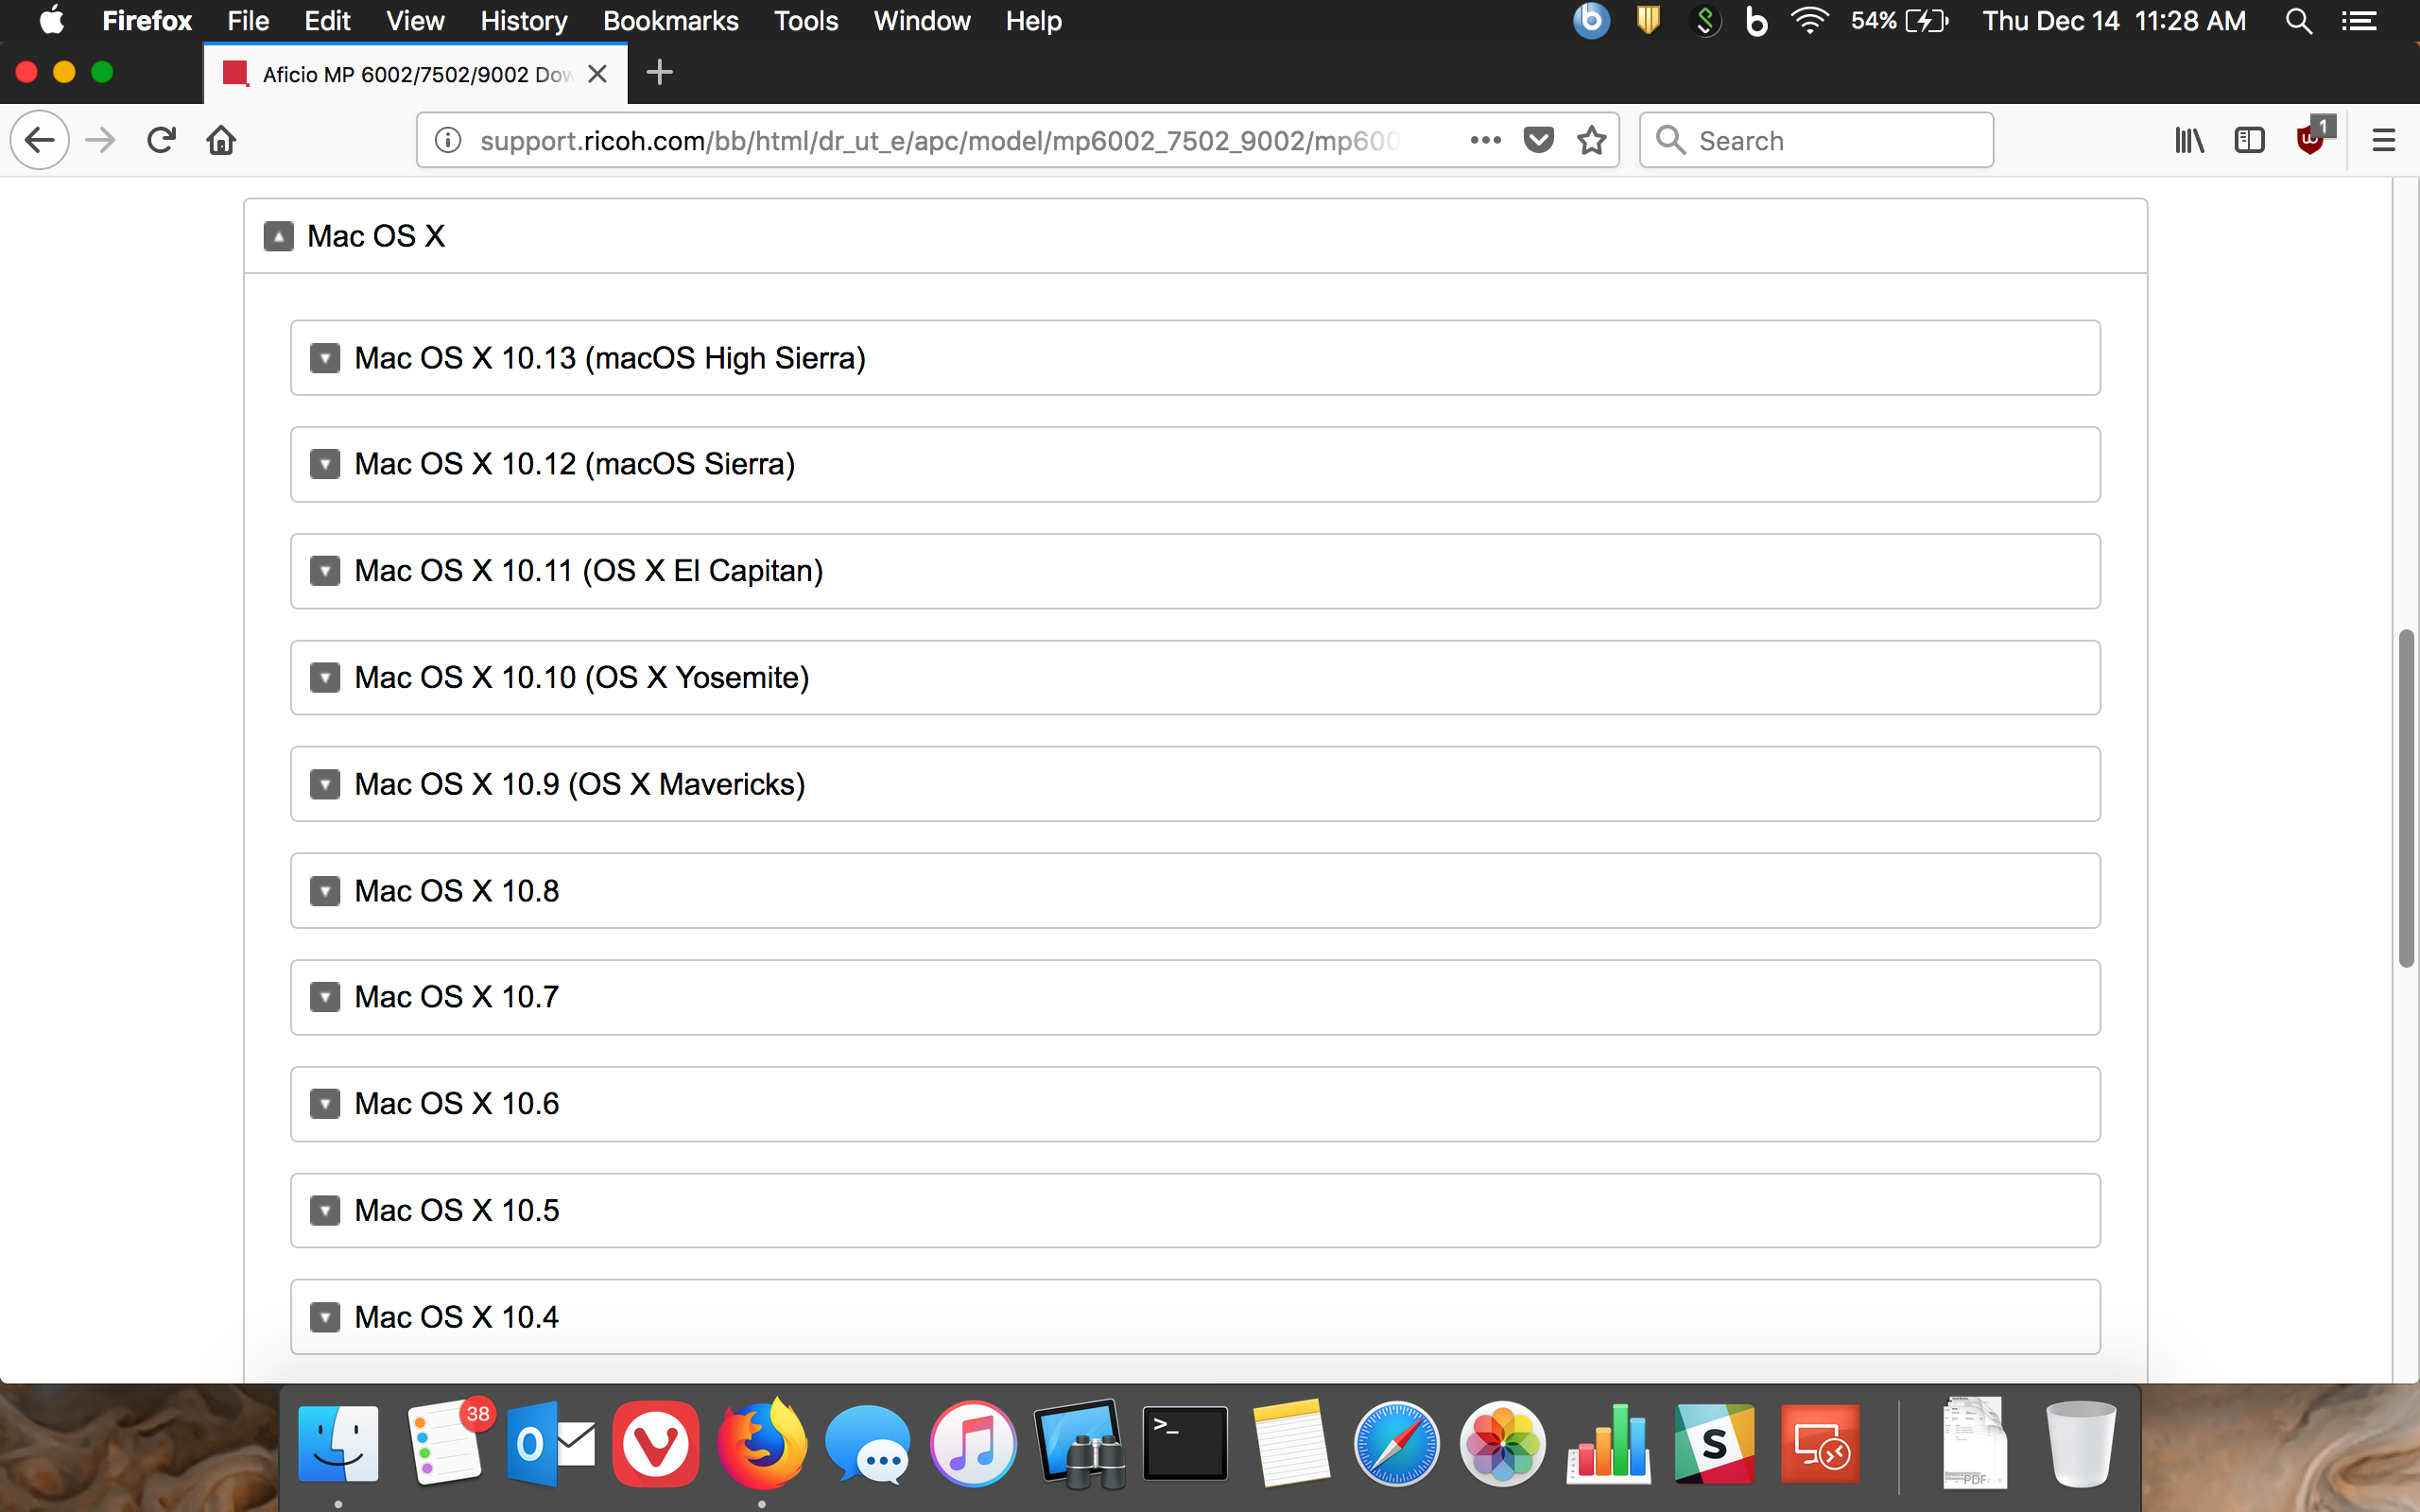
1.) Go to this web page and select the 'Mac OS X' dropdown menu. Then select the macOS version you are running.
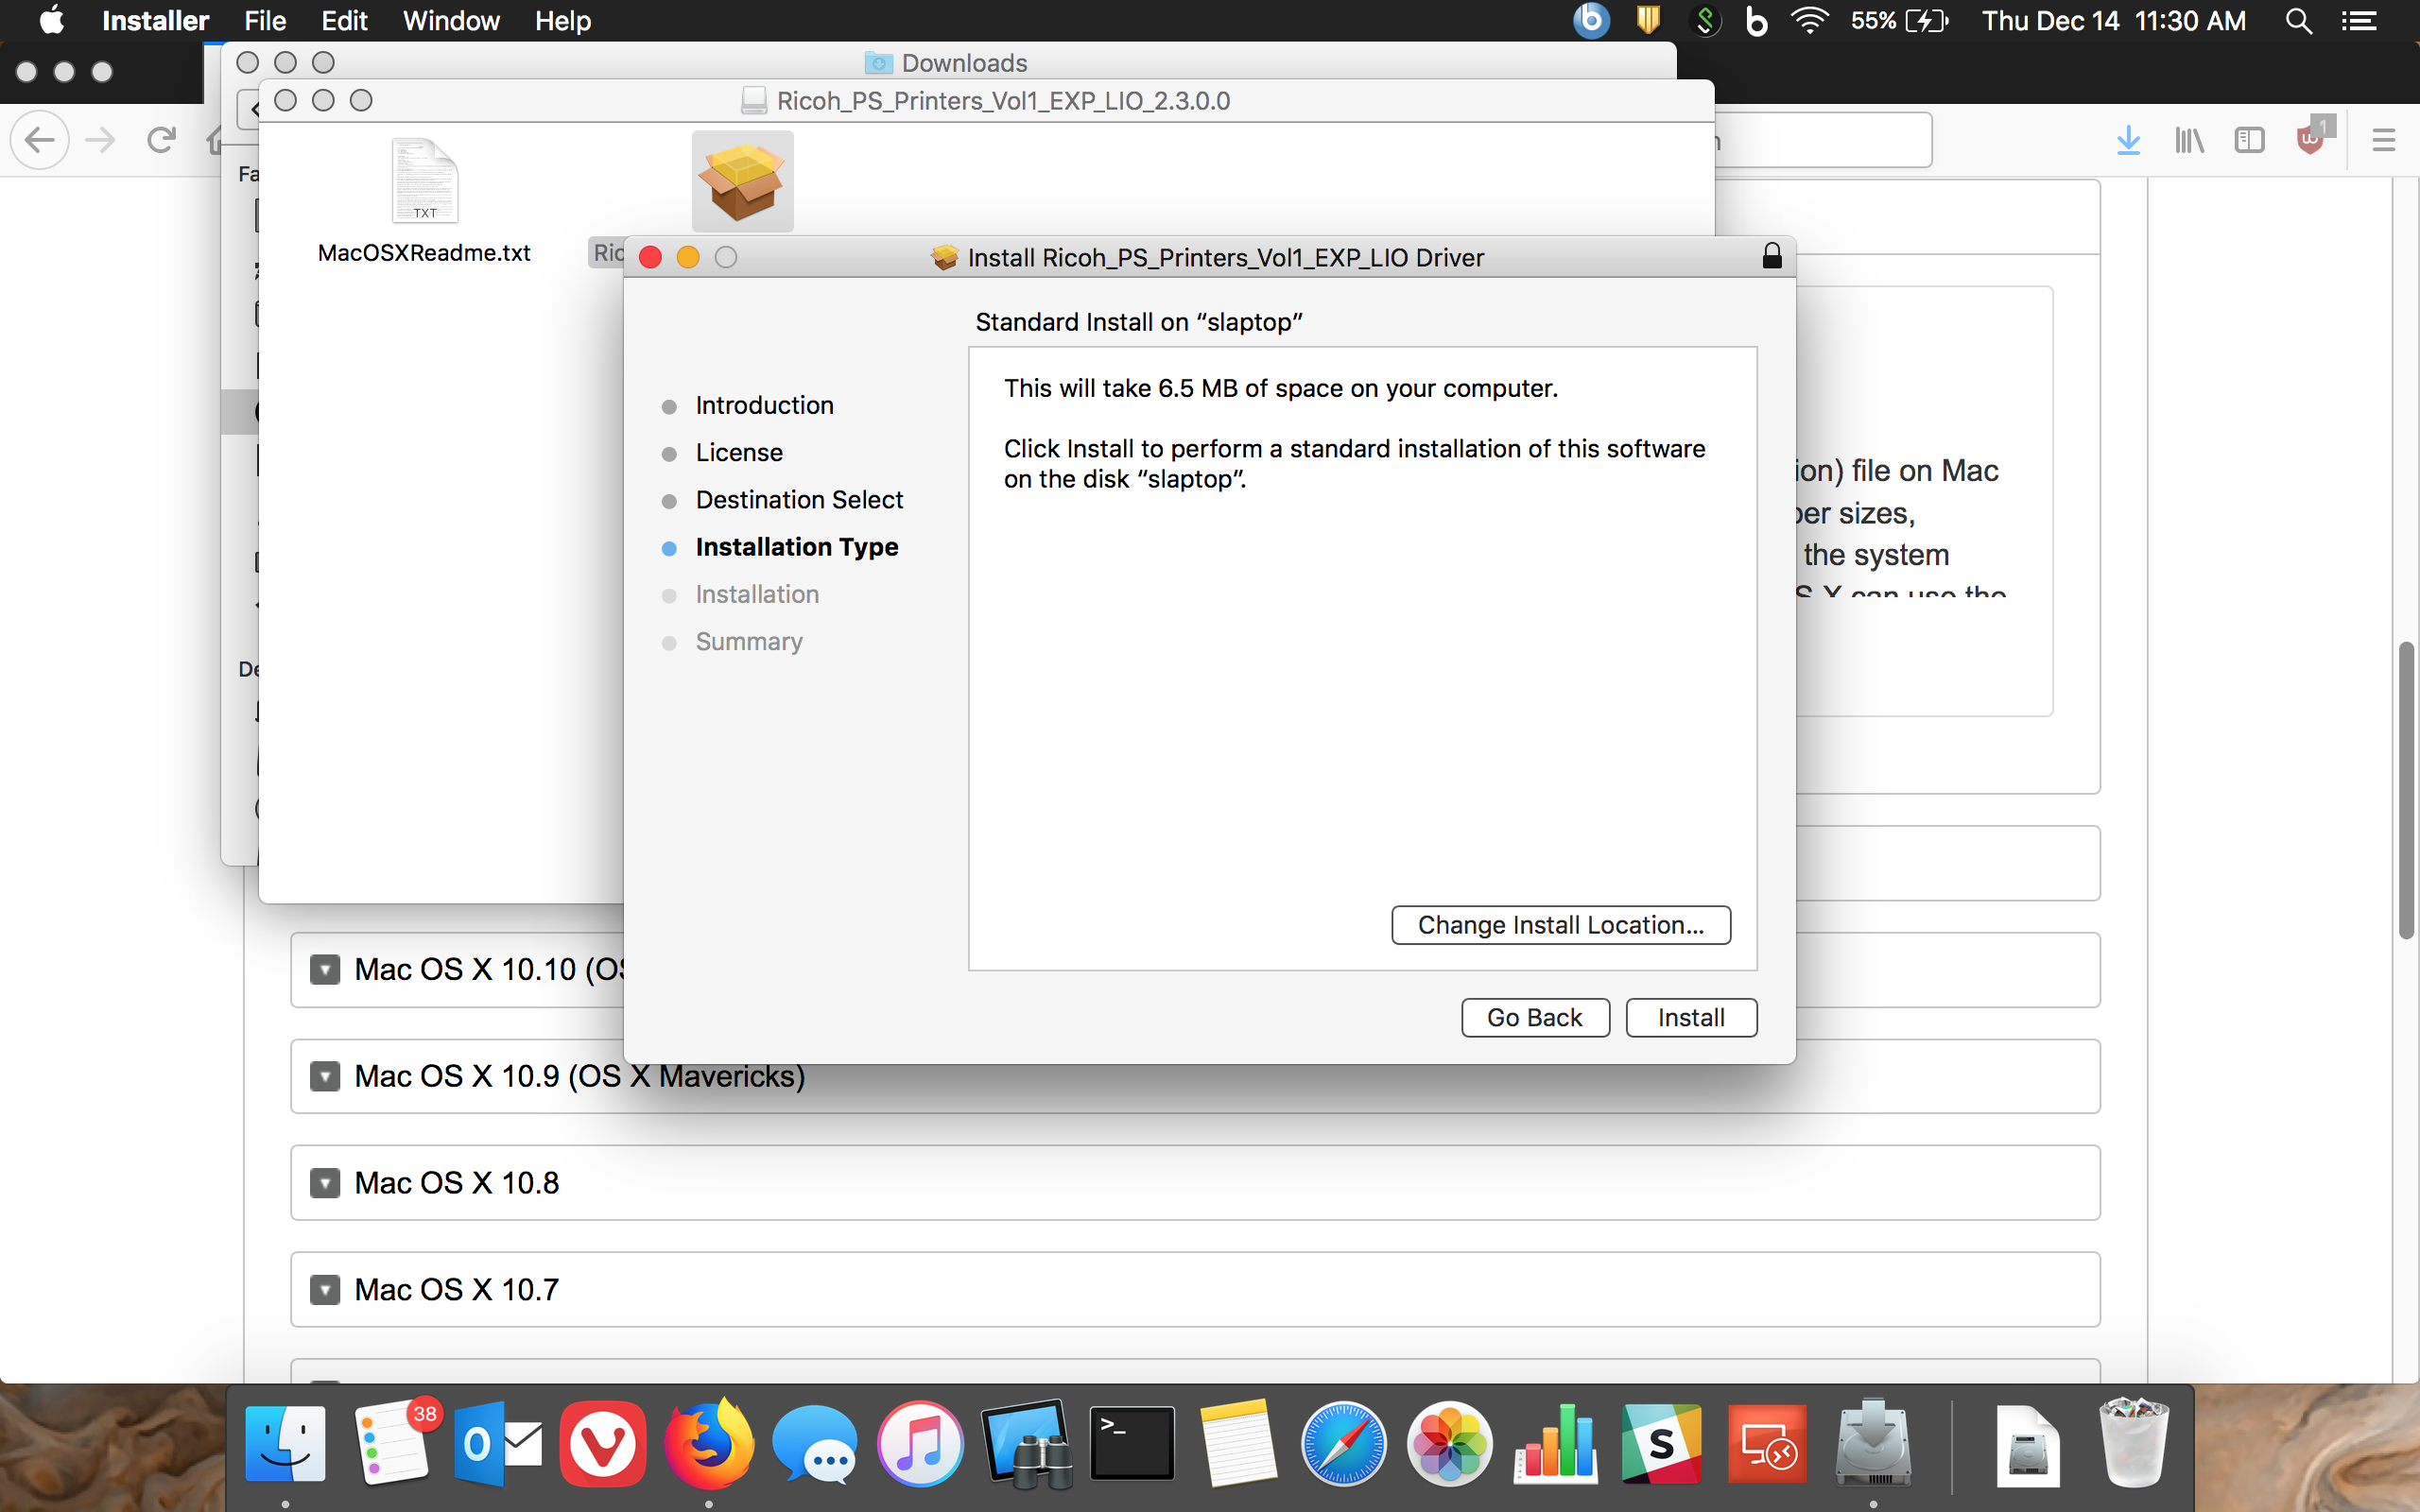
2.) Once the file is finished downloading, double click on the file to run the installer.
3.) Click through the instructions and install the printer driver onto your machine.
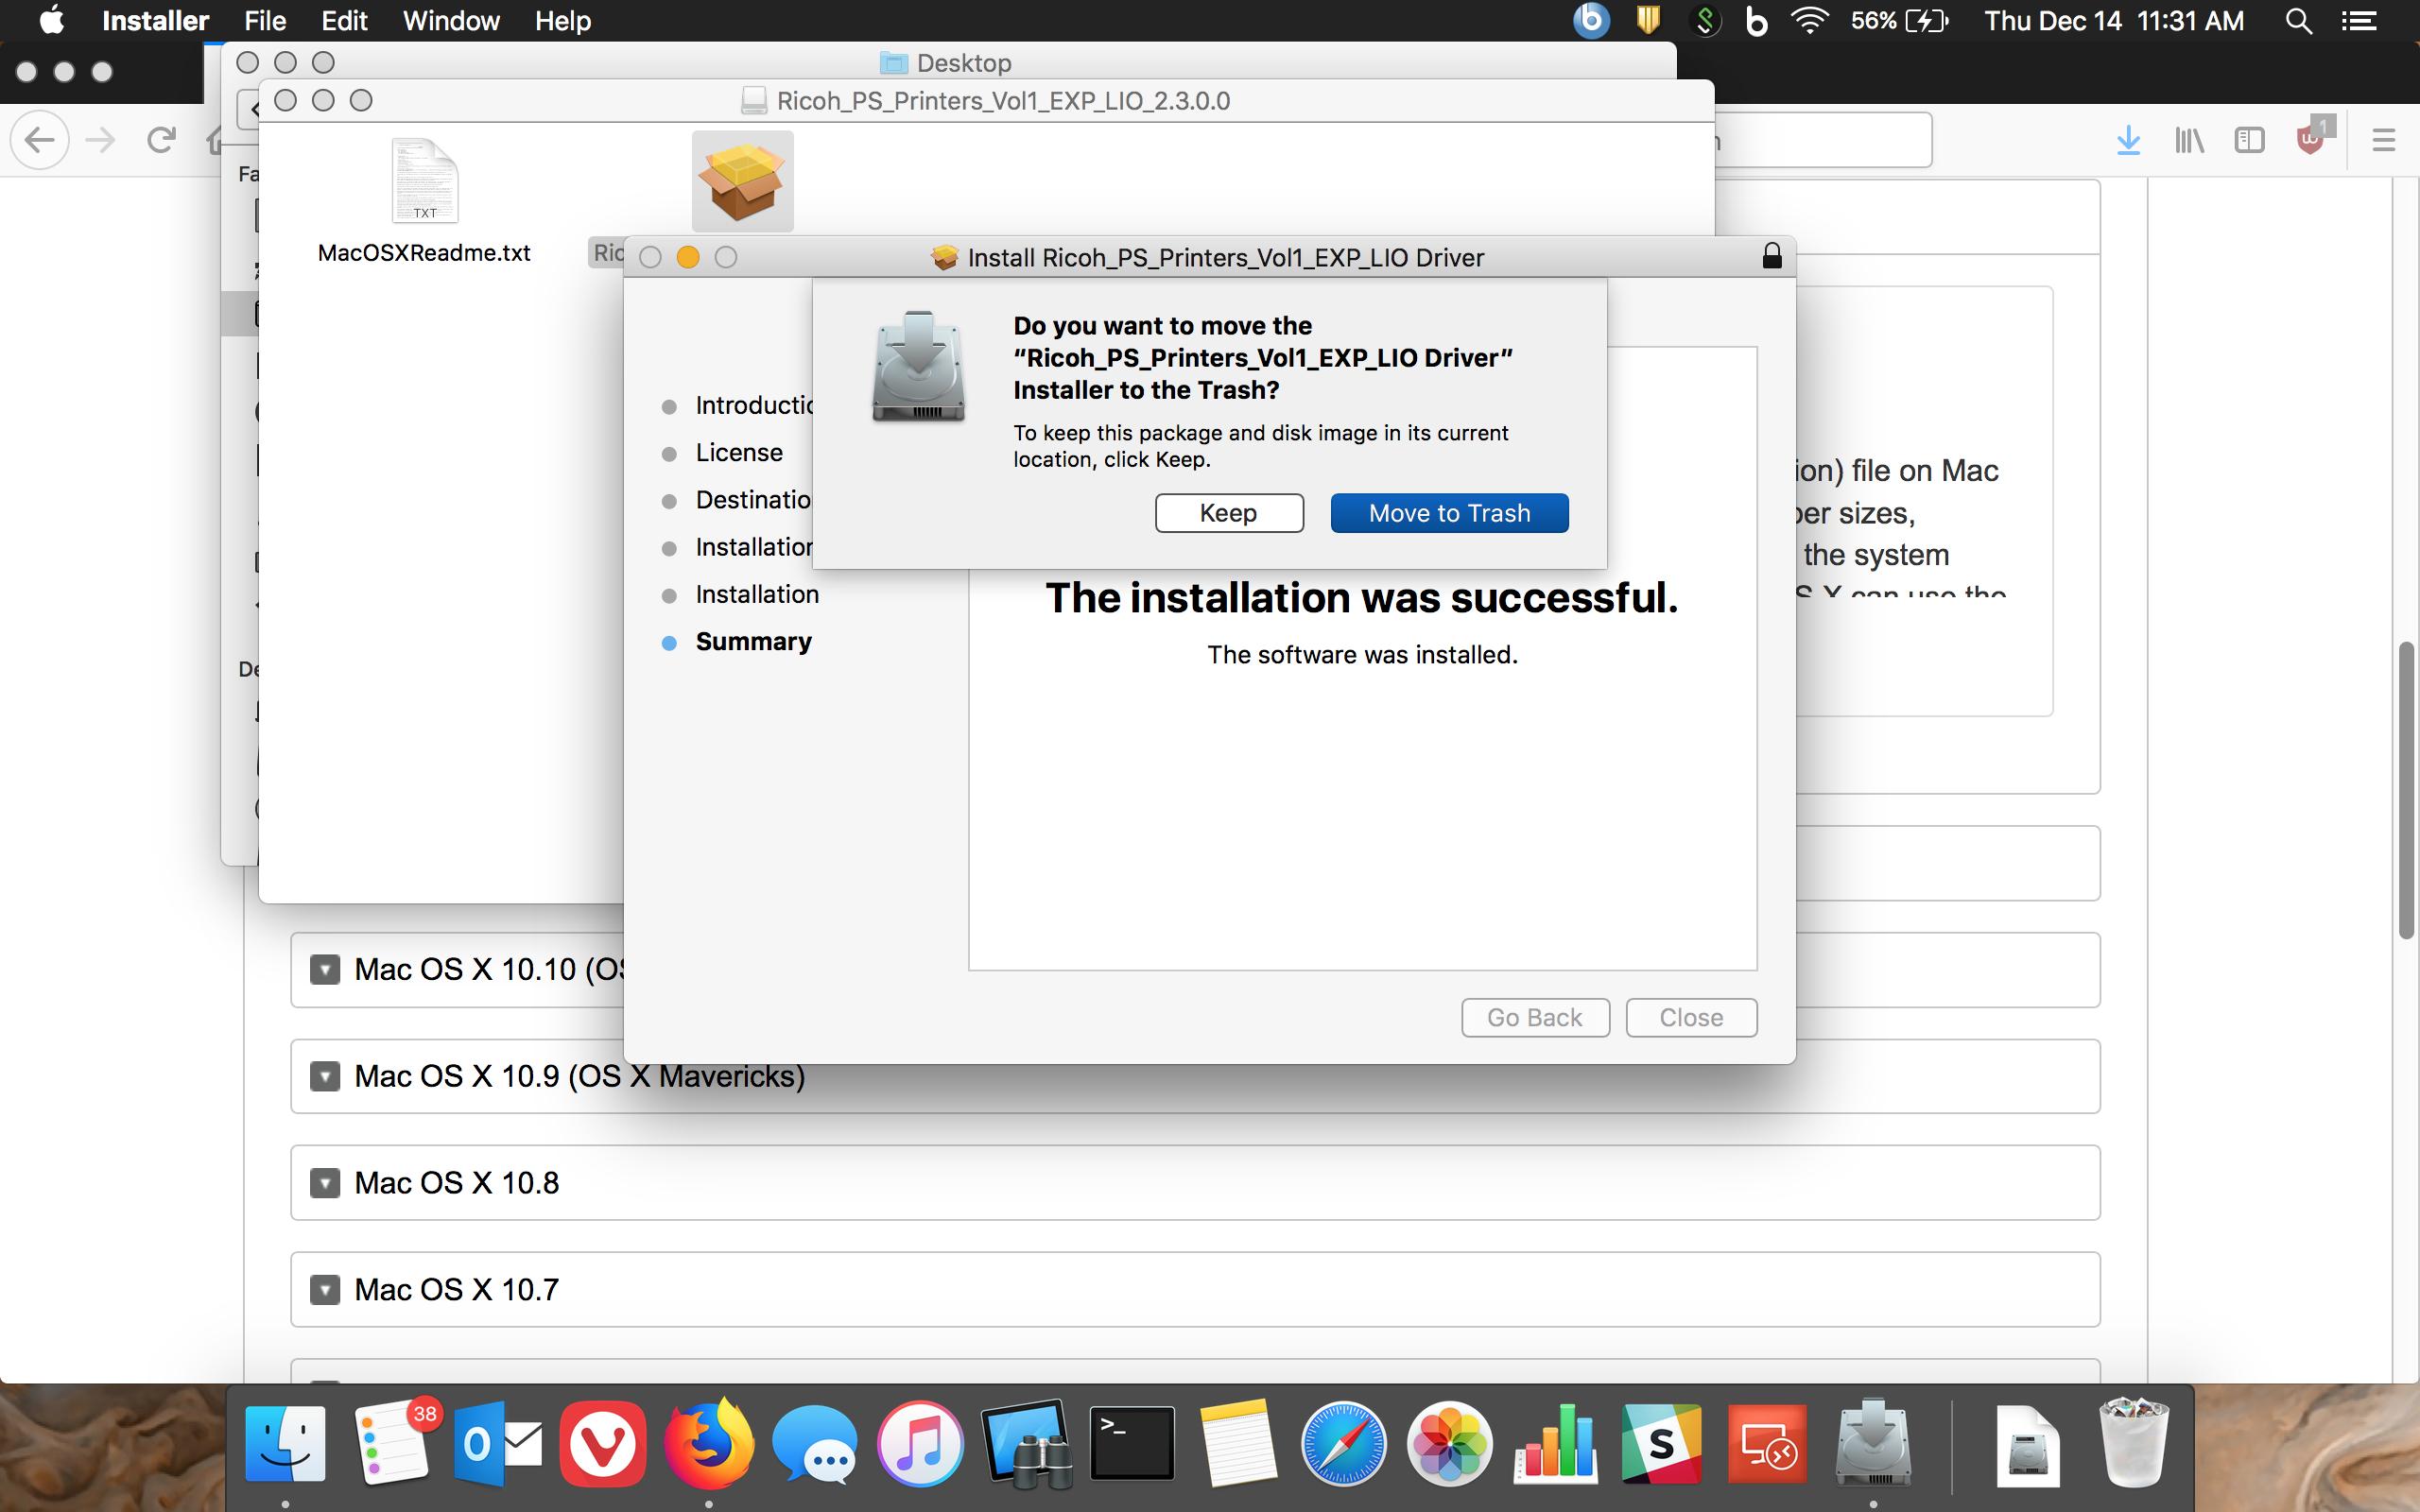
4.) After the files are installed, click Close. Your version of the OS may have 'Move to Trash' as an option instead. If so, click this to delete the installer. Eject the installation package as well and empty your Trash to fully remove the installer.
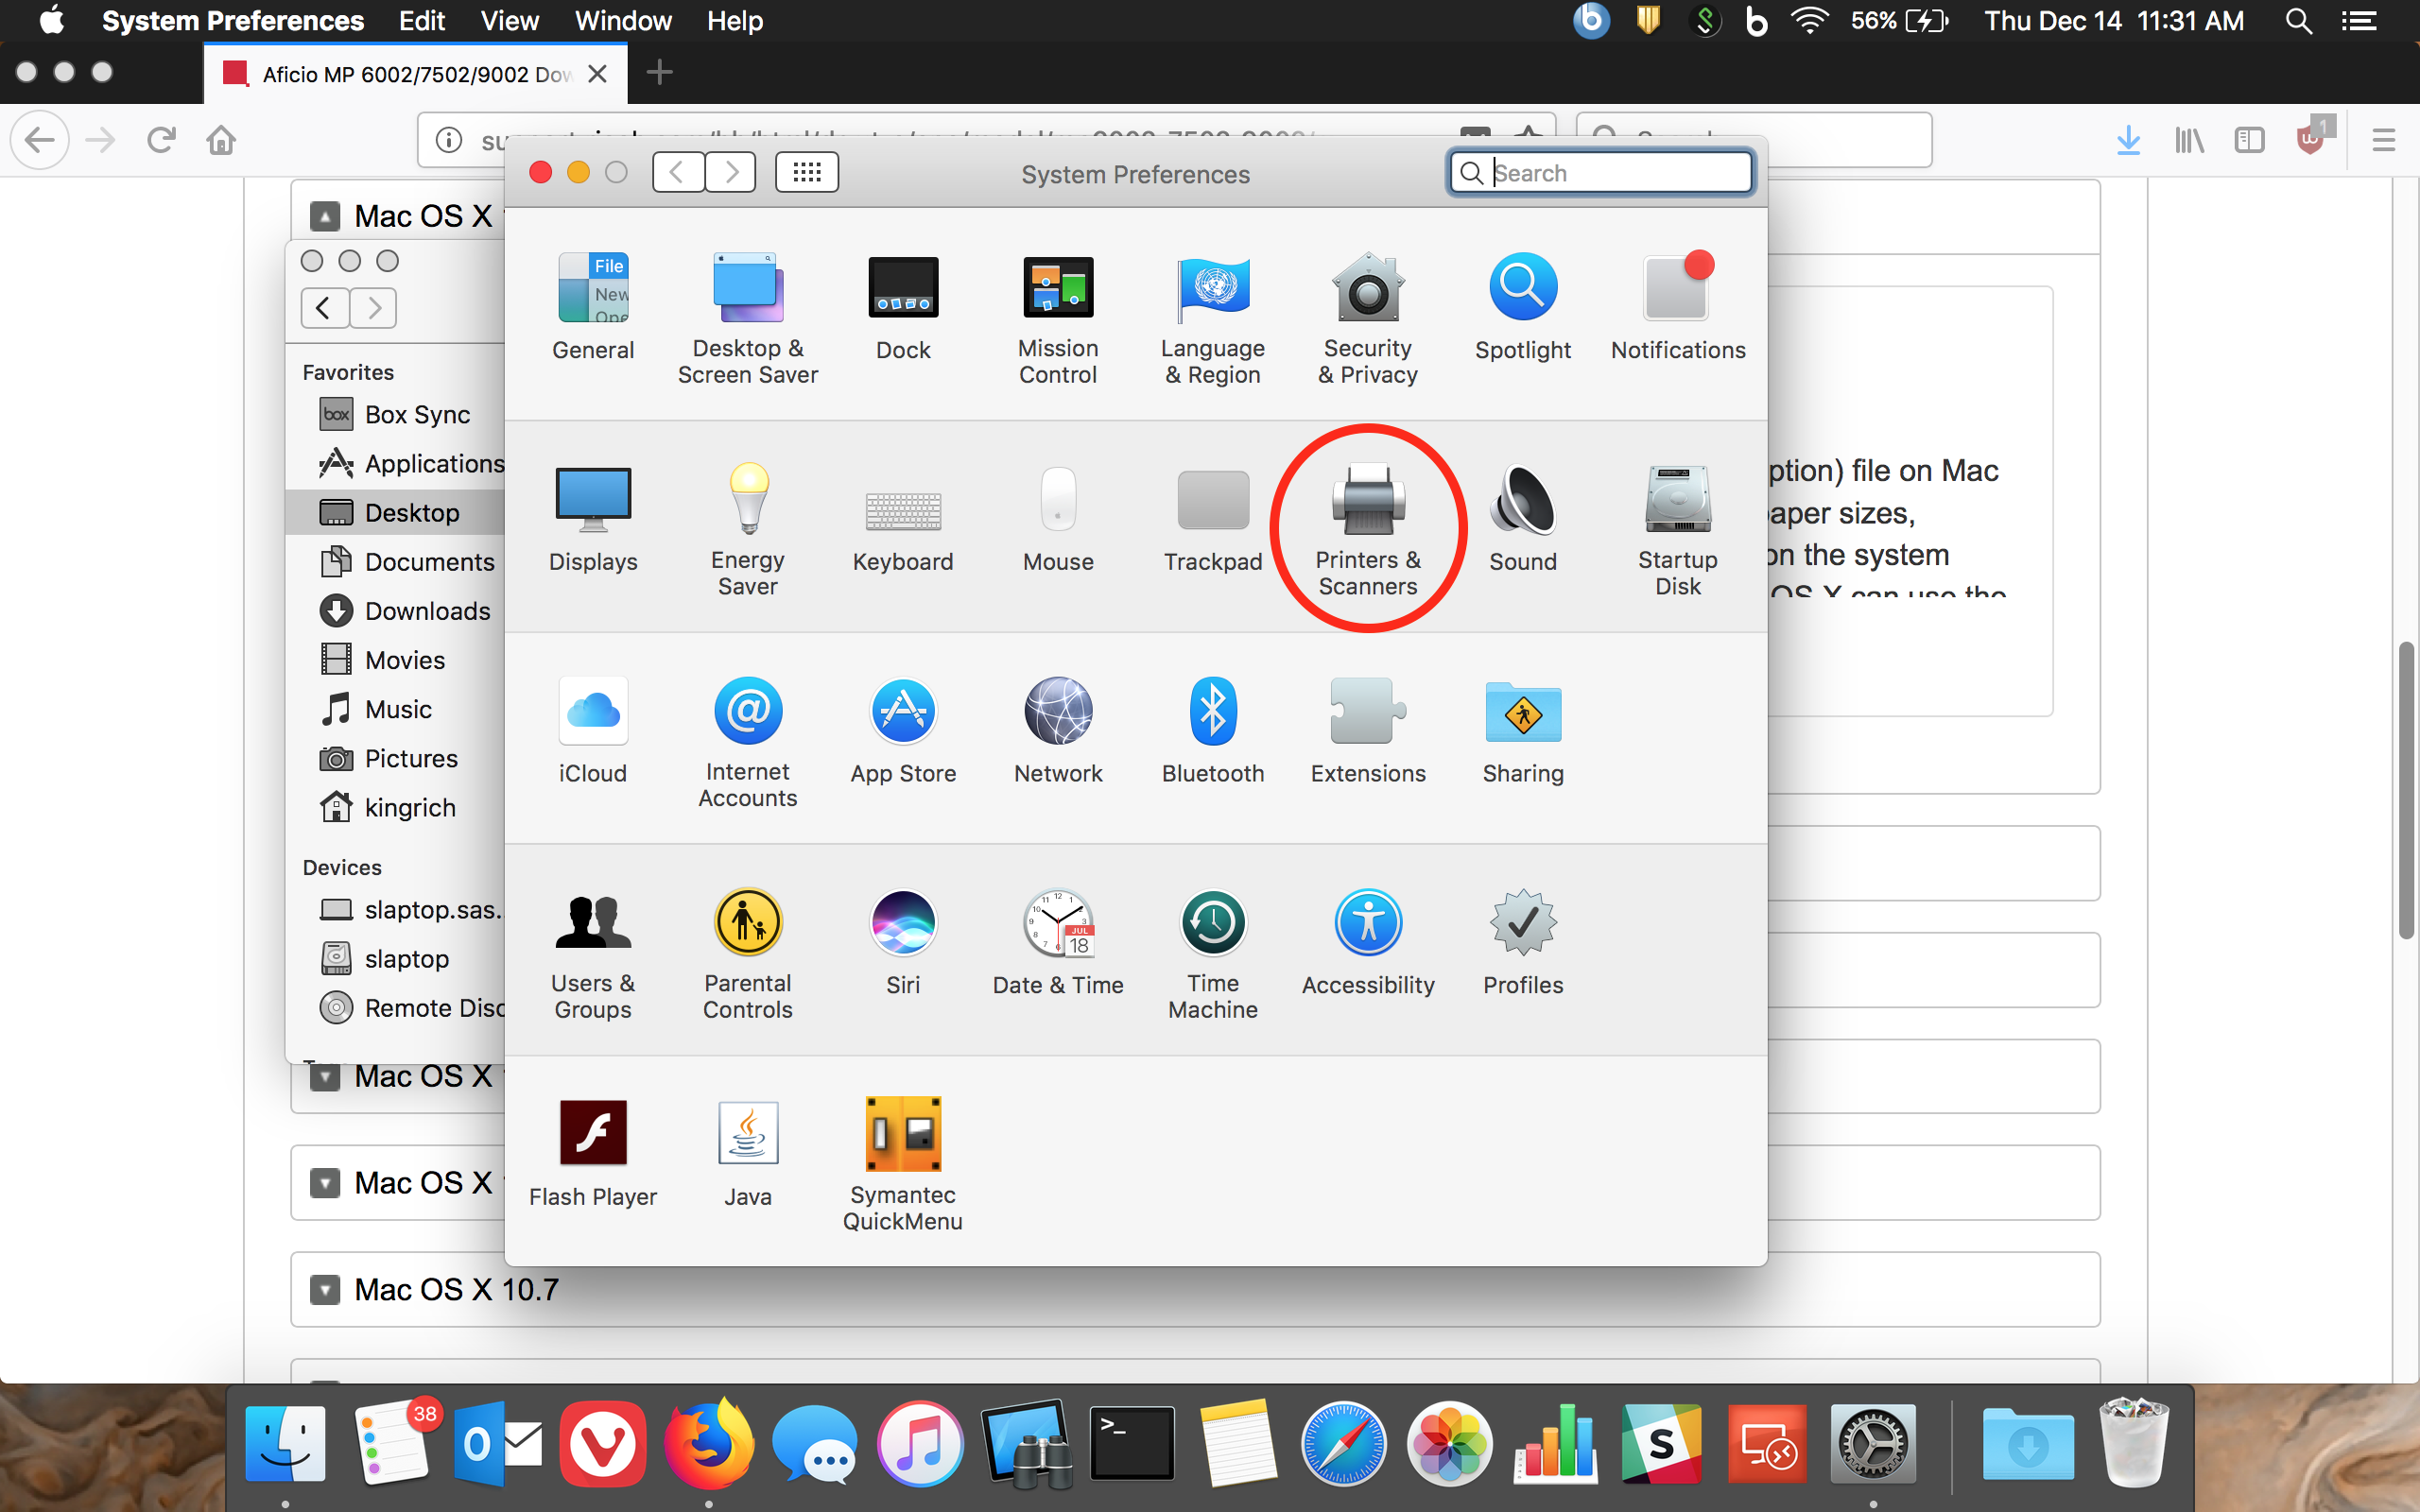
5.) Open System Preferences and select 'Printers and Scanners'.
6.) Click on the '+' button below the Printers column. Click on the 'IP' button on the window that opens up. Make sure 'Line Printer Daemon - LPD' is selected for the 'Protocol:' dropdown and enter 'copier3.english.upenn.edu' as the address.
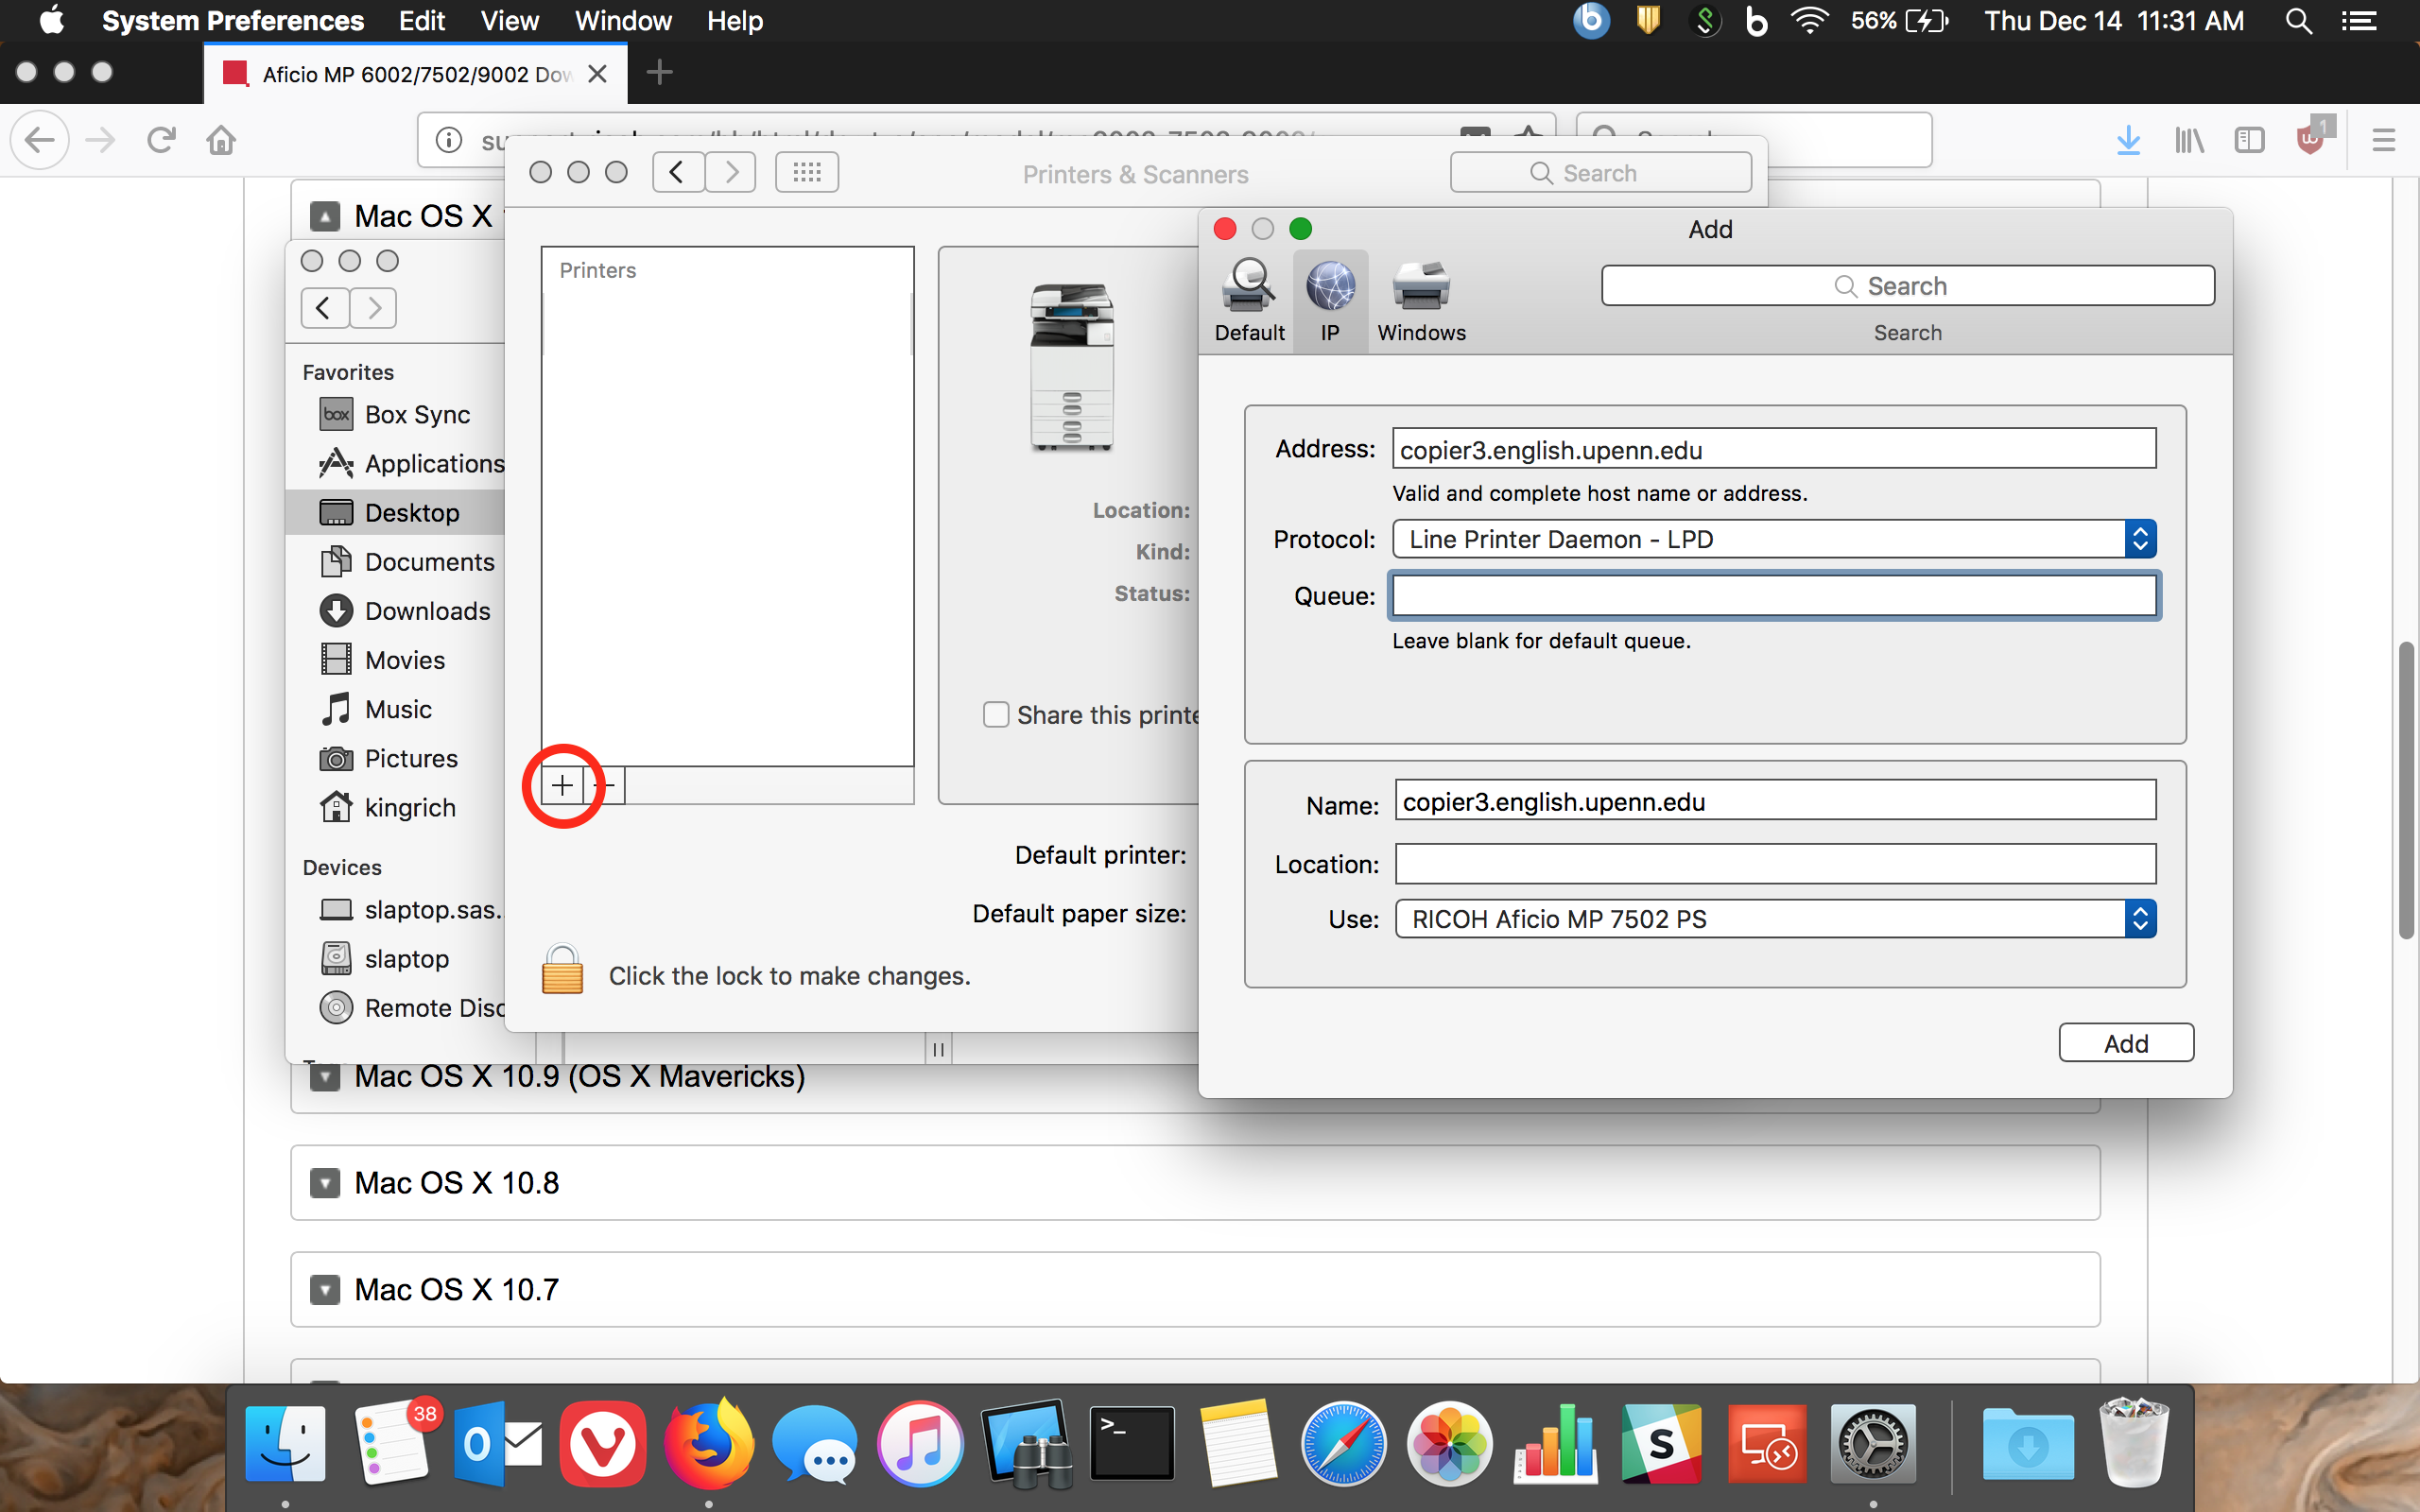
7.) Make sure that 'RICOH Aficio MP 7502 PS' is selected as the 'Use:' option for the bottom dropdown menu. This should automatically be selected. Then click 'Add'.
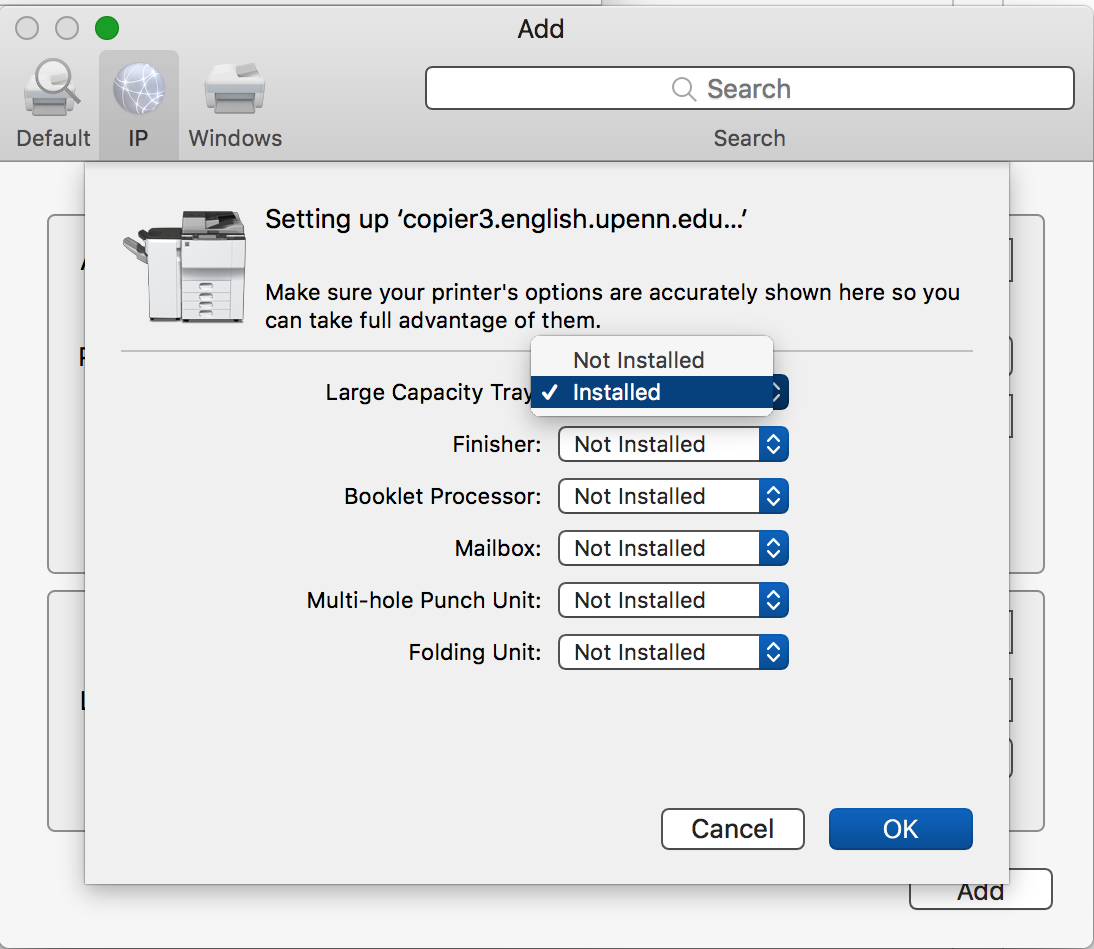
8.) A pop up window for setting up the copier should appear. Click the Dropdown menu next to 'Large Capacity Tray:' and select 'Installed'.
9.) Open a new Word document. Text Edit or another word processor would work as well, but may look slightly different.
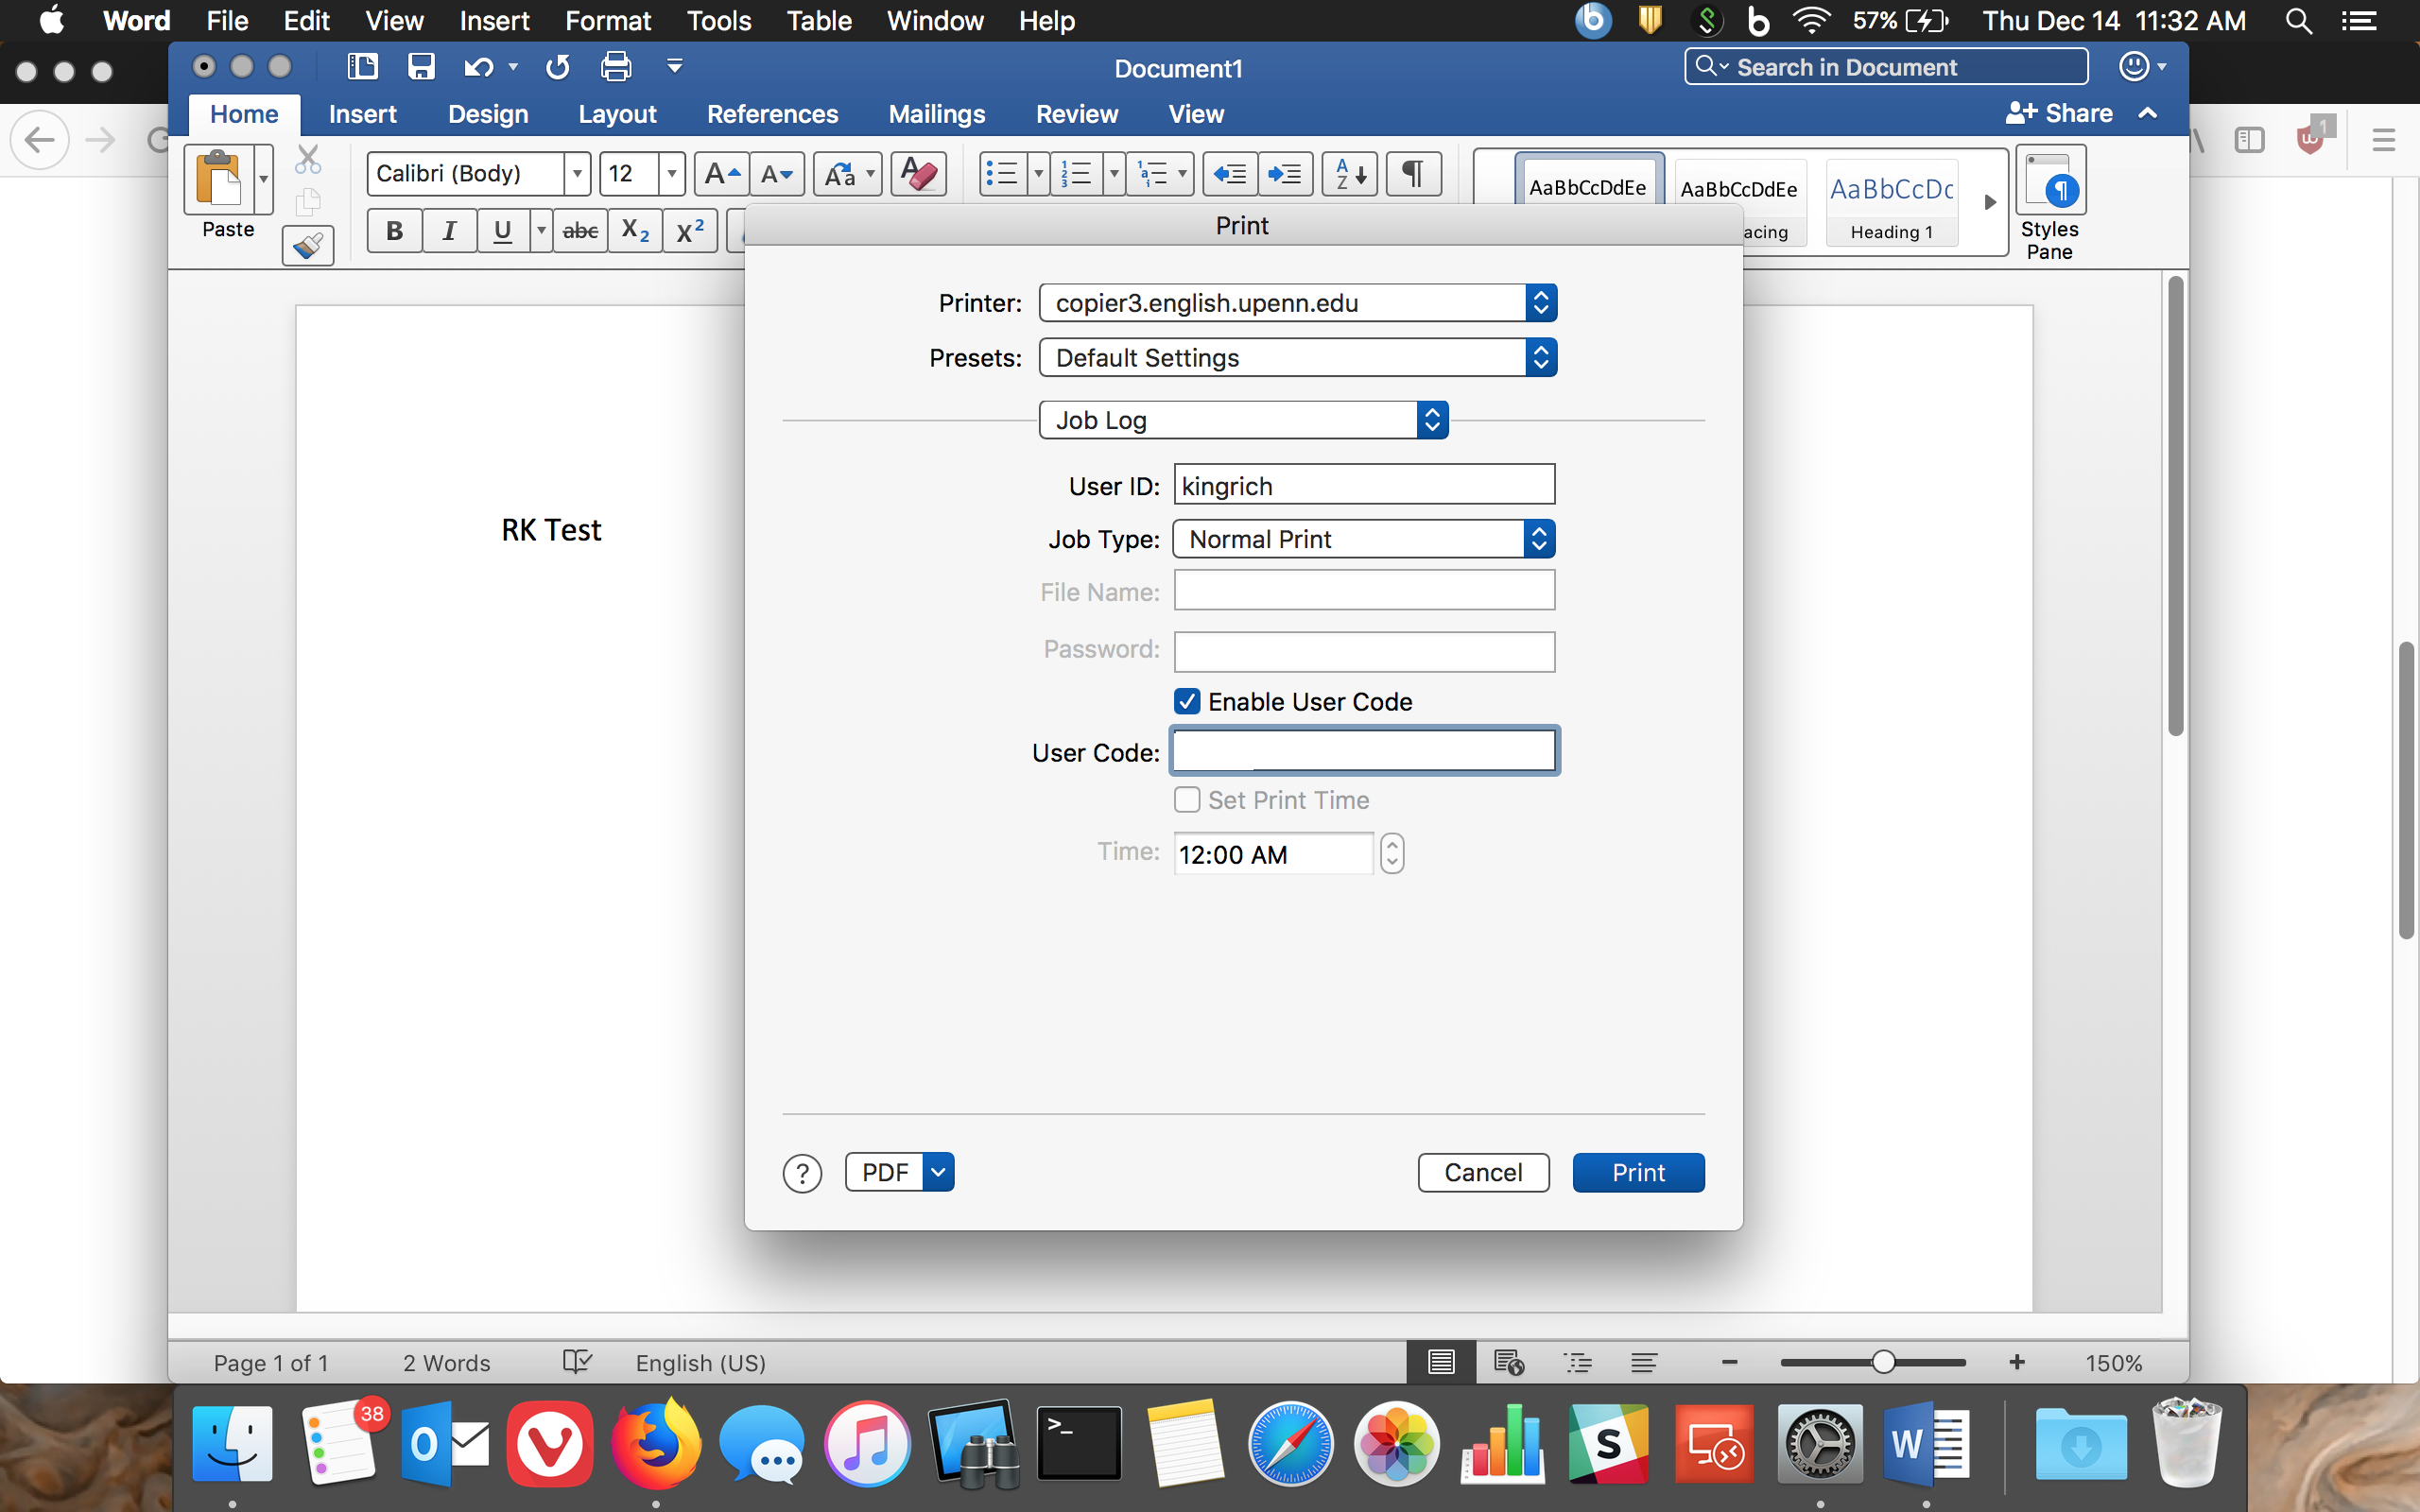
10.) Write your initials and test onto the page. For example, "RK test'. Click File then Print.
11.) Click on the dropdown menu bar next to 'Printer:' and select 'copier3.english.upenn.edu'. Click the dropdown menu next to 'Copies & Pages' and select 'Job Log'. Put your Pennkey in as the 'User ID:'. Check the box next to 'Enable User Code', and put in your copier code in the 'User Code:' box. Do not click print until you've finished the next step!
12.) Click the dropdown menu next to 'Presets:' and select 'Save Current Setting as Preset...". Type in the name 'copier3.english.upenn.edu'. This will save the User ID and User Code that you set up in the last step. Make sure that both the Printer and Preset dropdown bars say 'copier3.english.upenn.edu' every time you are printing to the 3rd floor copier.
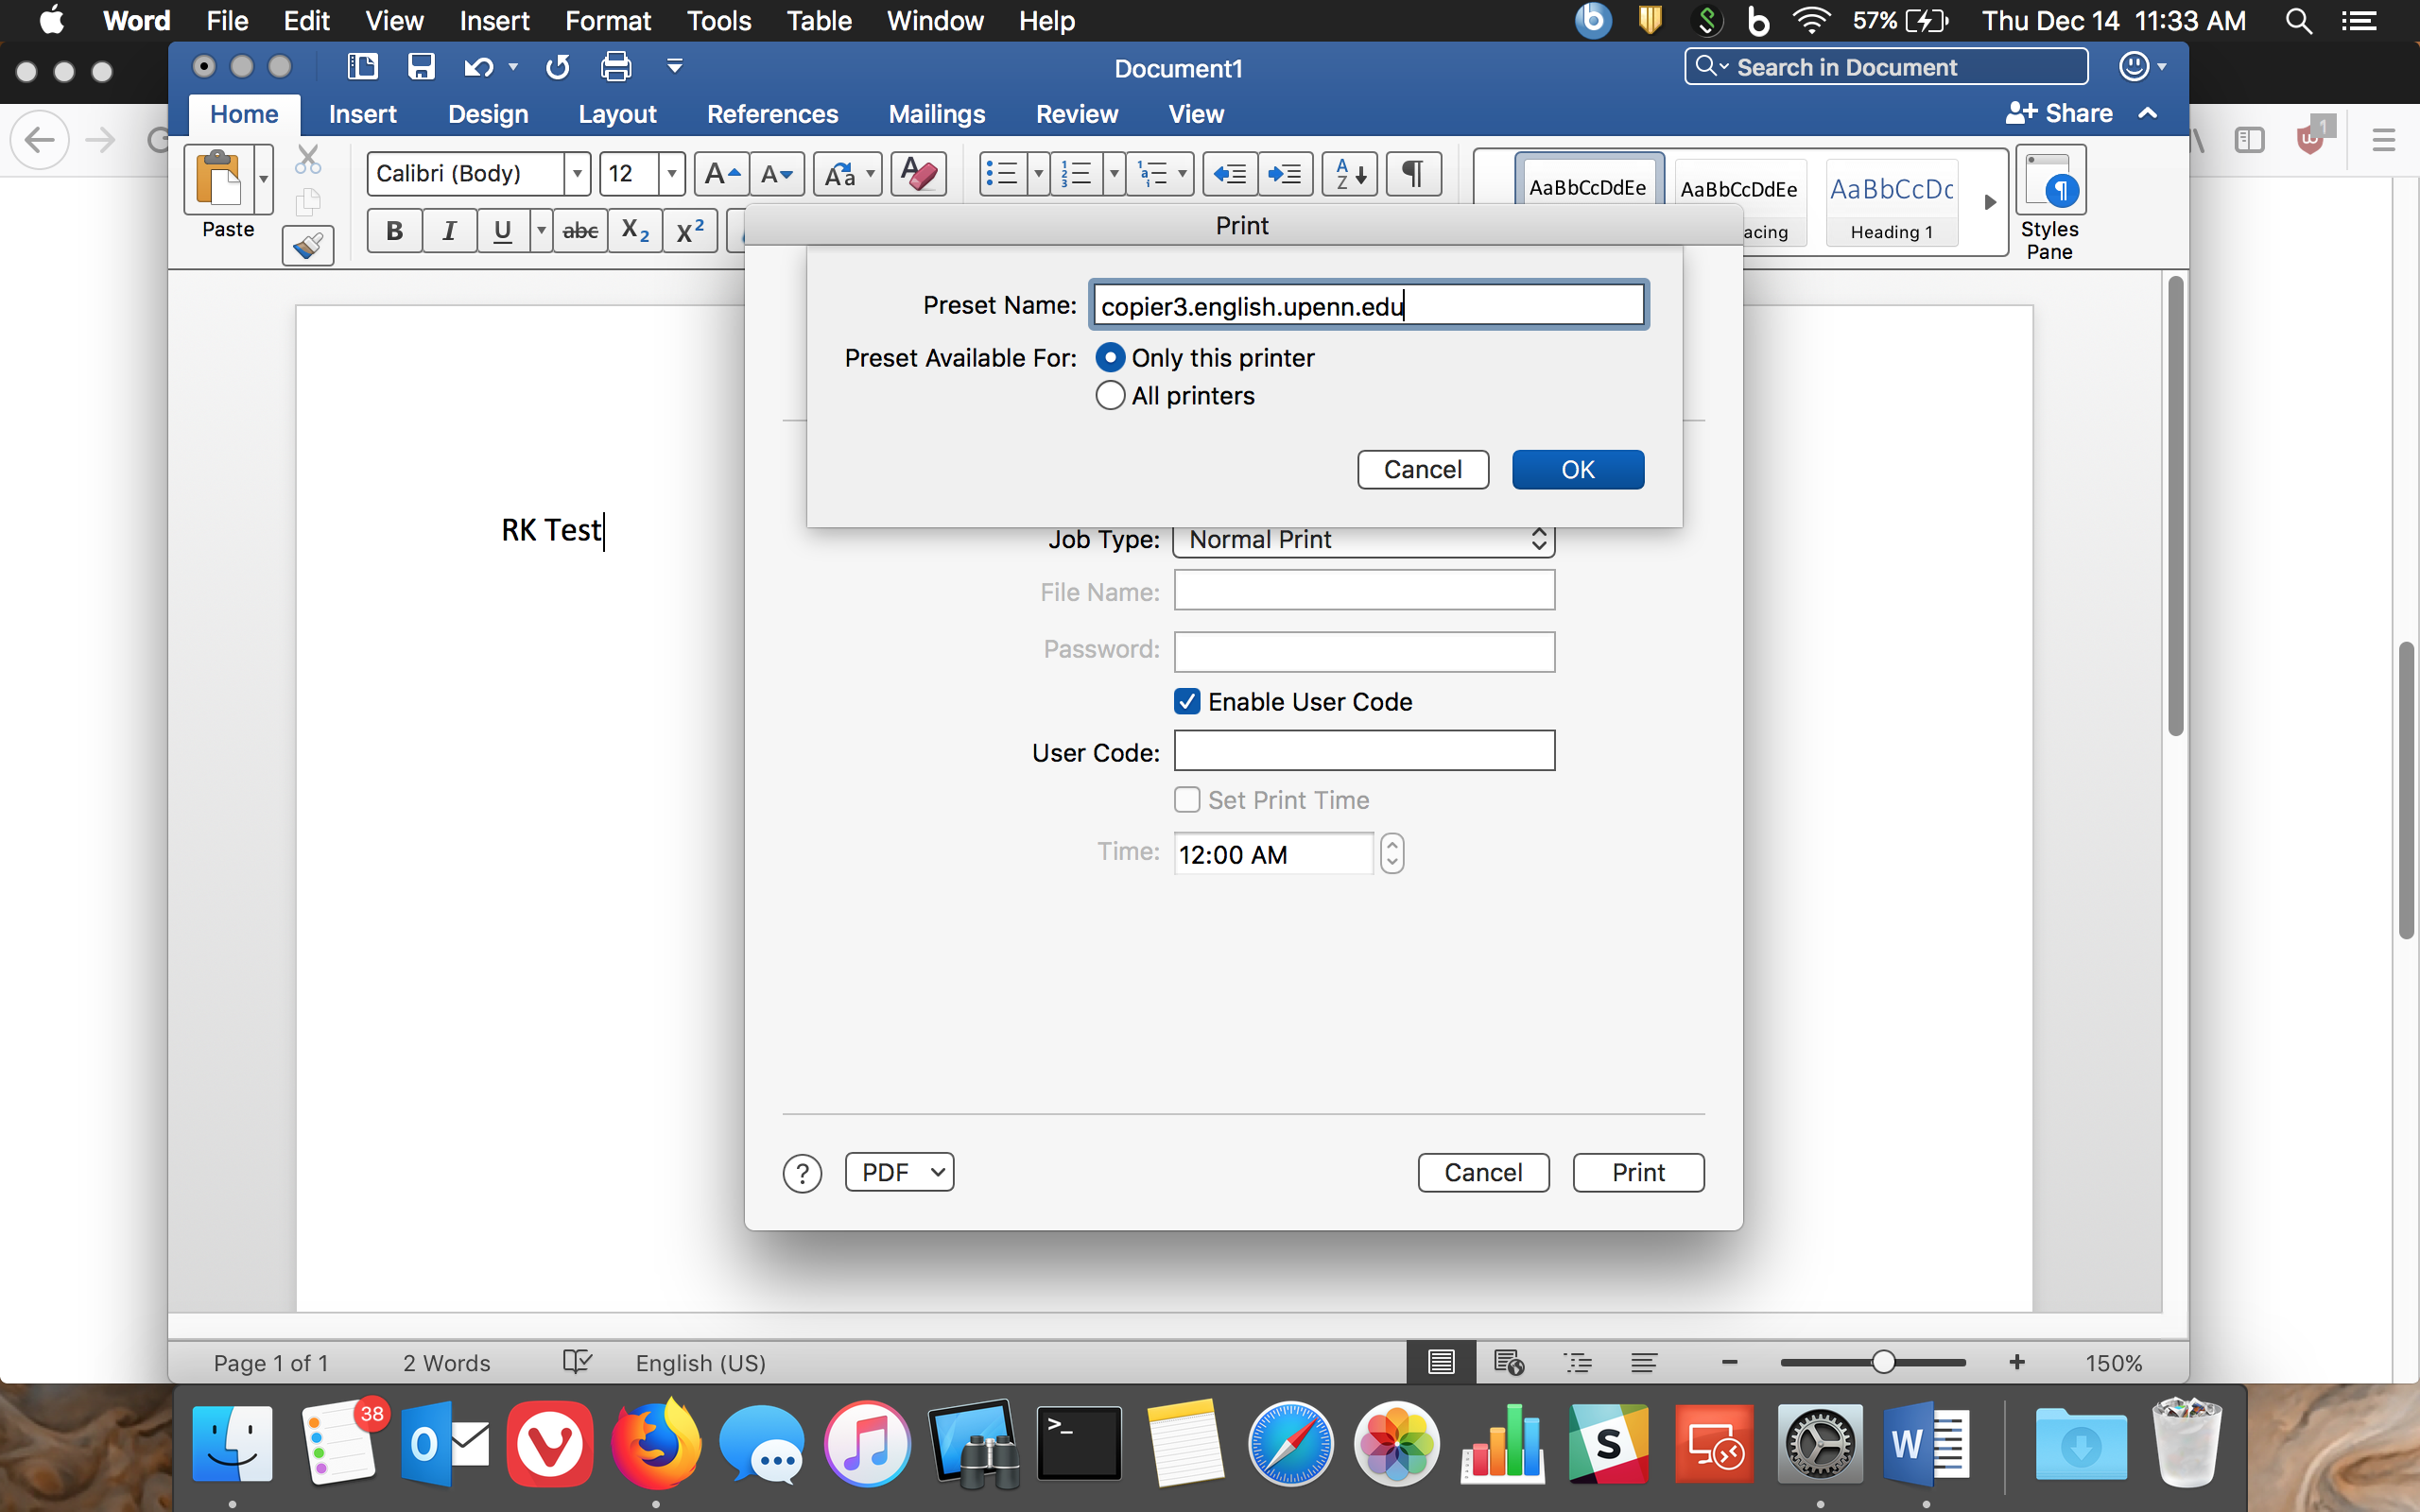
13.) Now click Print.
If everything works properly, your test page should print out of the 3rd floor copier. Make sure every time you print, the preset 'copier3.english.upenn.edu' is selected, or it will not work!
If your test page does not print properly, please contact Rich King or Brian Kirk by emailing us here.
You could also stop by Fisher-Bennett room 232 for assistance.